Get started
-
Install Hardhat
If you are starting from scratch, create an npm project by going to an empty folder, running
npm init, and following the instructions. Recommend npm 7 or higher. Once your project is ready: npm instructionsyarn instructions -
Create a project
Run
npx hardhatin your project folder and follow the instructions to create (more info here). -
Install plugin
Install the hardhat-etherscan plugin (requires v3.0.0+).
npm
yarn
-
Add plugin reference to config file
Add the following statement to your
hardhat.config.js. CopyIf using TypeScript, add this to yourhardhat.config.ts.More info on using typescript with hardhat available here.
Config File
Your basic Hardhat config file (hardhat.config.js or hardhat.config.ts) will be setup to support the network you are working on. In this example we use the Sokol test network and a .js file.
Here we add an RPC url without an API key, however some value is still required. You can use any arbitrary string. More info.
If you prefer, you can migrate to hardhat-toolbox to use a plugin bundle.
- arctic-1: https://seitrace.com/arctic-1/api
- pacific-1: https://seitrace.com/pacific-1/api
- atlantic-2: https://seitrace.com/atlantic-2/api
- PRIVATE_KEY: Wallet private key
- SEITRACE_KEY: You can also use a random string
Deploy and Verify
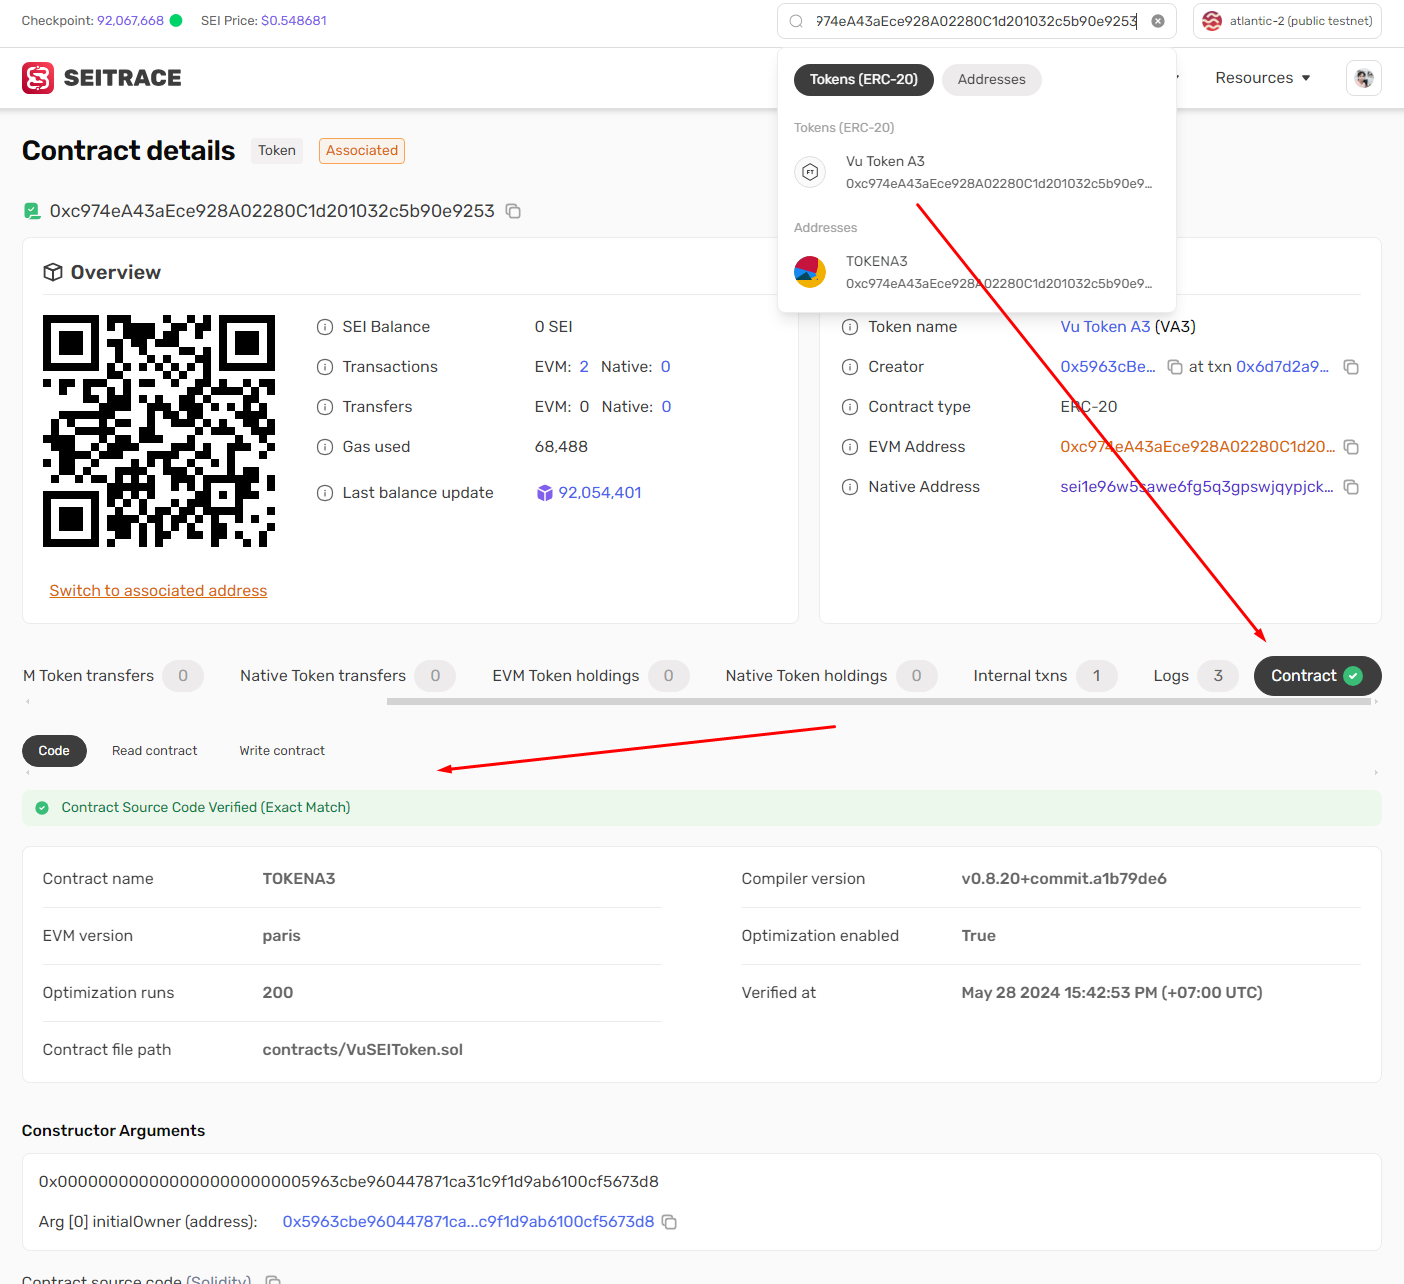
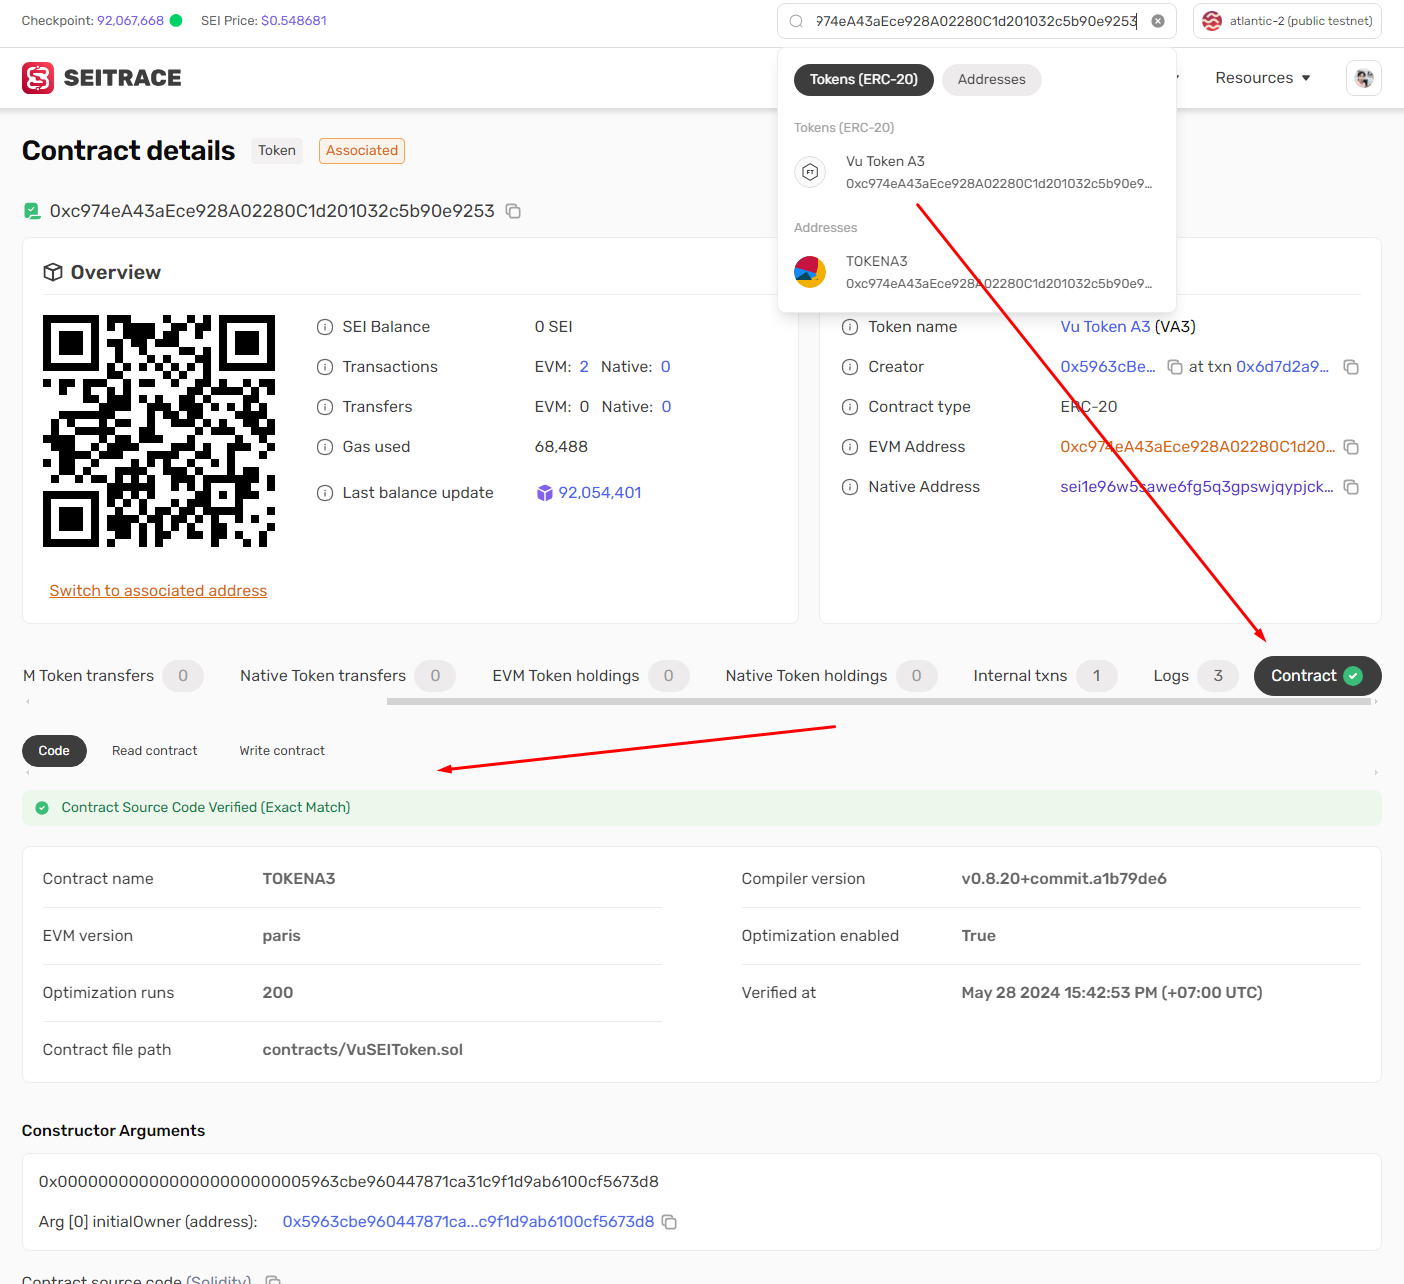
DeployConfirm Verification on Seitrace

